In this post, I will explain how to place thumbnail left and excerpt right using Divi theme's Blog module. I referred to Modify The Divi Blog Fullwidth Layout, but added a jQuery script to move the post title to the top and added a few lines of CSS to improve the layout.
Modify Divi Theme's Blog module to place thumbnail left and excerpt right
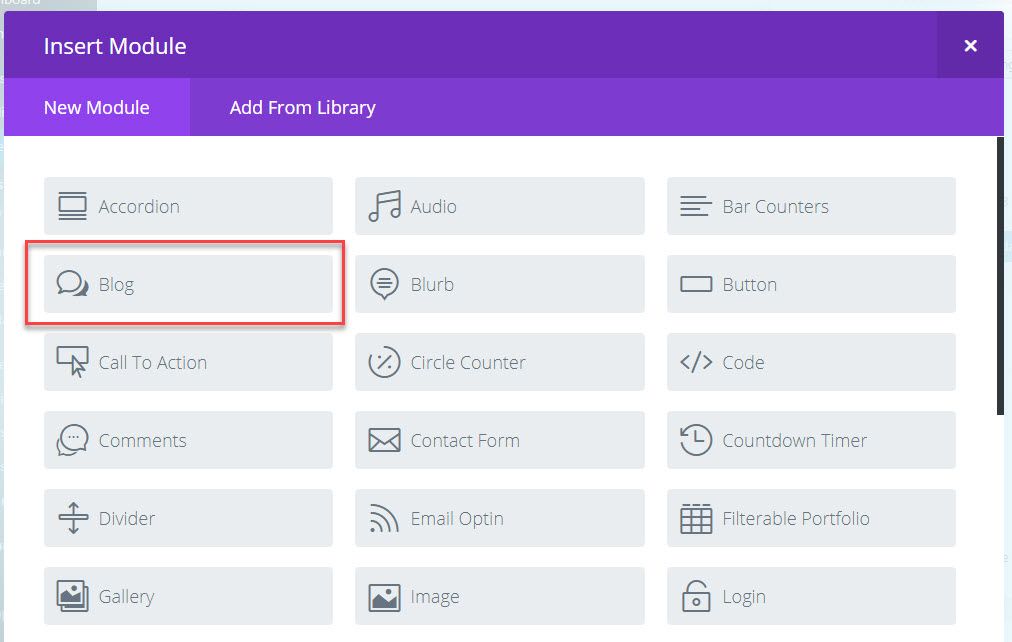
After inserting sections and columns as you wish, please add a Blog module by clicking the Insert Module(s) icon.

The Blog Module Settings page appears.

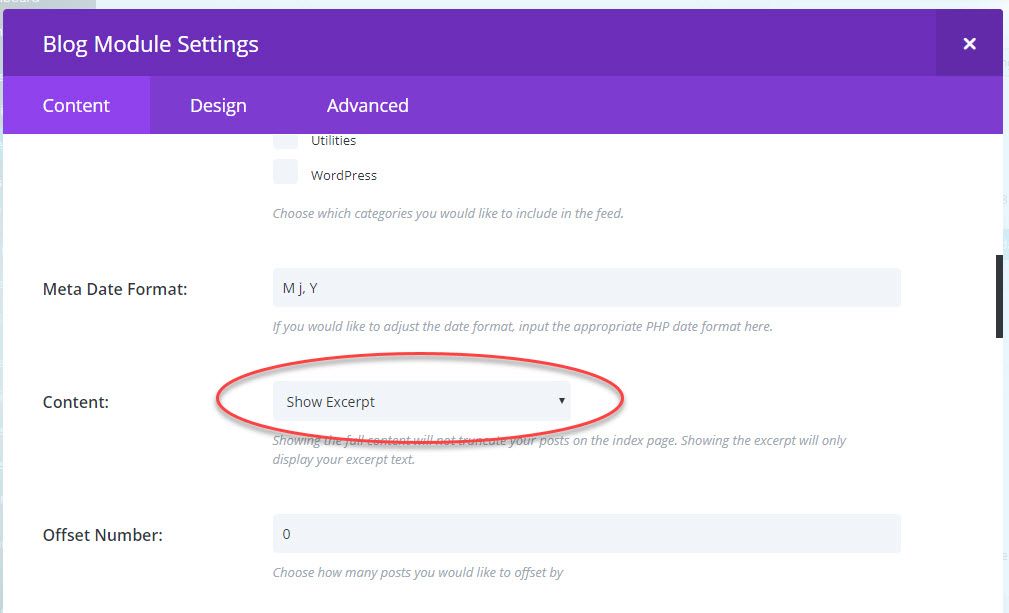
Under the Content tab, please choose Show Excerpt. Please add at least one meta items (such as date, author or categories.)
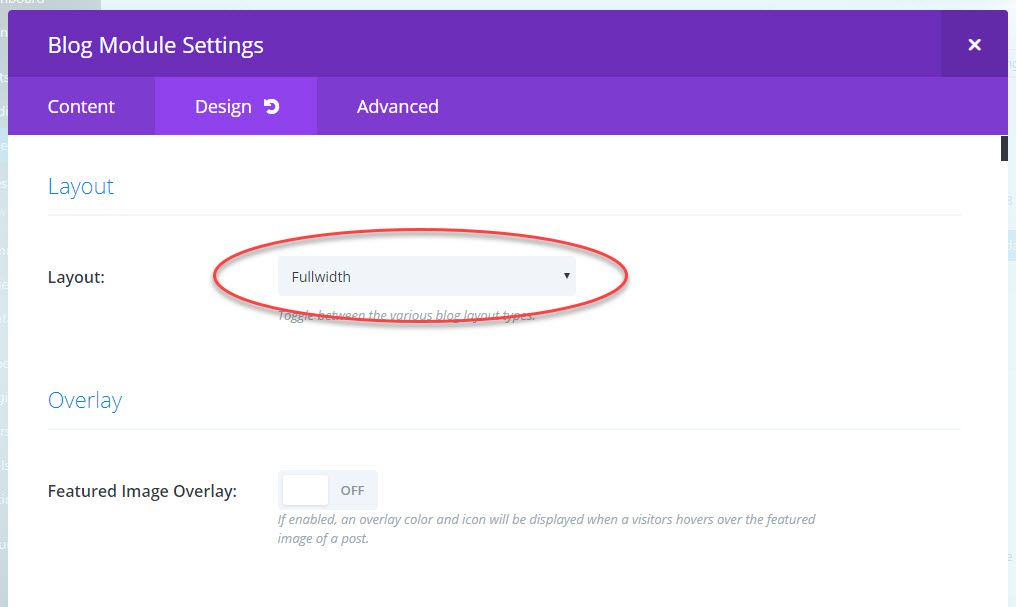
Please click on the Design tab.

Please choose Fullwidth as the Layout option.
After saving the changes, please go to WordPress Dashboard > Divi > Theme Options > General. Please add the following code to Custom CSS:
/*------------------------------------------------*/
/*-------- Place Thumbnail Left and Excerpt Right ------------*/
/*------------------------------------------------*/

.et_pb_posts .et_pb_post a img,
.archive .et_pb_post a img,
.search .et_pb_post a img {
max-width: 210px!important;
float: left;
padding-right: 20px;}

.et_pb_post .entry-featured-image-url {
margin-bottom: 0px !important;
}

@media only screen and ( max-width: 1180px ) {
.et_pb_posts article .post-content {
width: 445px;
float: right;
}}

@media only screen and (max-width: 980px) {
.et_pb_posts .et_pb_post a img,
.archive .et_pb_post a img,
.search .et_pb_post a img{
float:none;
max-width: 250px!important;}}
Please click on the Integration tab on the top, and then insert the following jQuery script:
<script type="text/javascript">
jQuery(document).ready(function(){
jQuery(".et_pb_posts article").each(function(){
jQuery(">a:first-child", this).insertBefore(jQuery(".post-meta", this));
});
console.log("done");
});
</script>
That's all. Now refresh your page. The thumbnail will be placed on the left and the excerpt on the right.

You can modify layout with CSS or jQuery as you wish.

